Installation
A step-by-step guide to installing the Spiff Commerce Shopify app from a development perspective.
Personalization Button - Automatic
To render the personalization button automatically on a product page. You can use the Shopify Store 2.0 Integration to drag and drop the button directly in. You can access the button by navigating to the theme editor, switching to the product page and dragging the SpiffCommerce app button directly into your page in a location that suites.Please ensure that you configure the button by selecting it and observing the right-hand side panel. Typically all you need to do is add your application key which can be found in the SPiffCommerce hub under integrations.
Personalization Button - Manual

To render a Spiff Commerce button snippet you need to use Shopify's render feature using the Liquid template language in the backend of your Shopify store.
Mandatory arguments:
product_handle: The handle of the product. The product handle is the same string that appears as the slug in the URL of that product's page.
Optional arguments:
background_colour: The background colour of the button.height: The value to use as the height of the button, e.g. '20px'.width: The value to use as the width of the button e.g. '100px'label_colour: The colour of the text on the button.label_text: The text to display on the button.redirect_to_cart: Whether to redirect the user to the cart page on completion of the workflow.
{% render 'snippet name', product_handle: product.handle %}
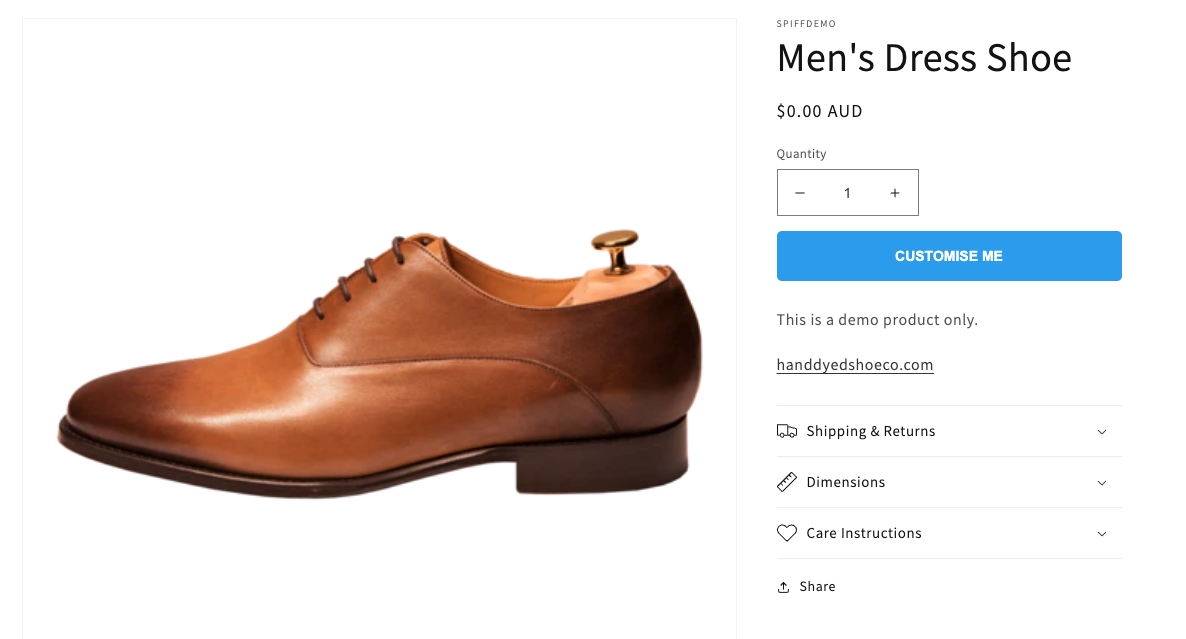
If you wish to customize the look of the button, you can supply arguments for text and color.
{% render 'snippet name', product_handle: product.handle, label_text: 'Customise me', label_colour: '#000000', background_colour: '#FFFFFF' %}
If you wish to add more arguments you can modify the button inside the snippet which is located at the bottom of the file.
<button
     class='spiff-api-button'
     data-product-id='{{product_object.id}}'
     onclick="openStandardWorkflowForProduct{{product_object.id}}(event)"
     style="
            display:none;
            color:{% if label_colour %}
              {{label_colour}}
            {% else %}
              #FFFFFF
            {% endif %};
            background-color:{% if background_colour %}
              {{background_colour}}
            {% else %}
              rgb(214, 27, 92)
            {% endif %};
            {% if height %}height:{{height}};{% endif %}
            {% if width %}width:{{width}};{% endif %}
            "
 >{% if label_text %}{{label_text}}{% else %}Customise now on #spiff{% endif %}</button>
Render Preview Image
To render the preview image you need to navigate to your themes cart.liquid file and insert the code below. This function will cycle through all item properties and if we find an item that contains the preview image from Spiff Commerce it will render the spiff-line-item-image snippet. The preview image will only render on Spiff Commerce related products in the cart.
{%- assign property_size = item.properties | size -%}
{% if property_size > 0 %}
  {% for p in item.properties %}
    {% if p.first contains 'previewImage' %}
    {%- assign propertyLast = p.last -%}
    {% endif %}
  {% endfor %}
{% endif %}

{% if propertyLast contains 'spiff' %}
  <a href="{{ propertyLast }}" target="_blank" class="cart__image">
      {% render "spiff-line-item-image", line_item: item %}
  </a>
{% else %}
  <img class="cart__image{% if item.image == null %} hide{% endif %}" src="{{ item | img_url: 'x190' }}" alt="{{ item.image.alt | escape }}" data-cart-item-image>
{% endif %}